

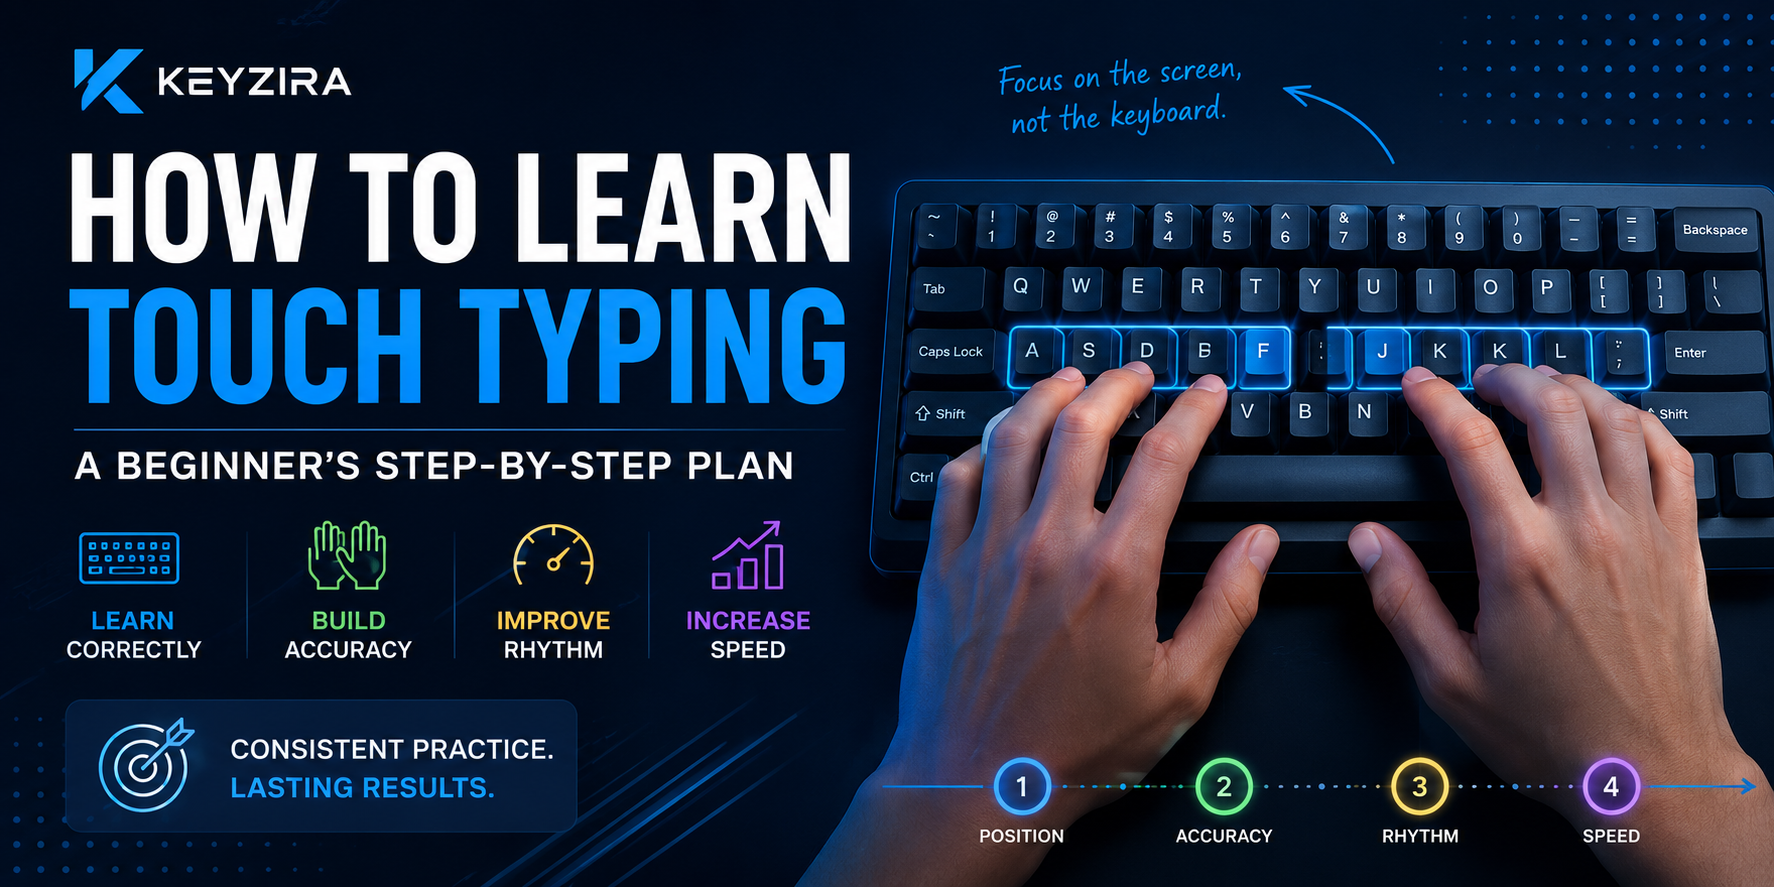
Touch typing means using the keyboard without constantly looking down to find each key.
The goal is not simply to use all ten fingers. The real goal is to build a consistent system where your fingers know where to move automatically.
At first, this can feel slower than your usual typing method.
That is completely normal.
If you currently type with two, three, or four fingers, you may already have years of muscle memory behind that technique. Learning touch typing means replacing some of those habits with new ones.
The best approach is therefore:
accuracy first → consistency second → speed later.
Here is a step-by-step plan for beginners.
Step 1: Learn the home row
The home row is the starting position for your fingers.
On a standard QWERTY keyboard:
Left hand
- Pinky → A
- Ring finger → S
- Middle finger → D
- Index finger → F
Right hand
- Index finger → J
- Middle finger → K
- Ring finger → L
- Pinky → ;
Your thumbs rest near the Space bar.
The F and J keys usually have small raised bumps.
These markers help you find your starting position without looking at the keyboard.
Practice placing your hands on the home row several times without looking down.
This simple movement becomes important later because it allows you to reset your hand position quickly.
Step 2: Stop trying to type fast
This may feel strange, especially if you can already type reasonably quickly.
Suppose your current typing speed is:
55 WPM
using your old technique.
When you begin touch typing, you might drop to:
20–30 WPM.
That does not mean the new technique is worse.
It simply means your fingers have not learned the new movement patterns yet.
During the first stage, your priority should be:
correct finger → correct key → correct word
not maximum speed.
Step 3: Learn one keyboard row at a time
Trying to memorize the entire keyboard in one session makes learning unnecessarily difficult.
Divide it into sections.
First: Home row
Practice letters around:
A S D F J K L
until the positions feel familiar.
Second: Top row
Add:
Q W E R T Y U I O P
Third: Bottom row
Then work on:
Z X C V B N M
Once letters feel comfortable, move toward:
- numbers,
- punctuation,
- symbols.
Learning in sections makes it easier for your brain to build a physical map of the keyboard.
Step 4: Use consistent fingers
One of the main advantages of touch typing is predictability.
Each finger is responsible for a specific area of the keyboard.
If you press the same key with different fingers every time, your brain has to solve the movement differently.
Consistent finger use makes muscle memory easier to build.
You do not need perfect form immediately.
But if you notice yourself repeatedly reaching across the keyboard with one finger, slow down and correct the movement.
Step 5: Keep your eyes on the screen
Looking at the keyboard is one of the hardest habits to remove.
Do not expect to eliminate it instantly.
Start gradually.
Try typing easy words while keeping your eyes on the screen.
If you lose your hand position:
- feel for the F and J markers,
- reset your fingers,
- continue typing.
Only look down when you genuinely cannot find your position.
Over time, those checks should become less frequent.
Step 6: Practice simple words
Do not begin with complicated vocabulary.
Start with familiar words.
For example:
- time
- work
- good
- home
- today
- people
- typing
- keyboard
- practice
Your brain already knows how these words are spelled, so you can focus more attention on finger movement.
As you improve, gradually introduce longer and less familiar words.
Step 7: Focus on accuracy
A beginner often thinks:
“If I type faster, I am improving.”
But early touch typing practice works better when accuracy comes first.
For example:
28 WPM / 98% accuracy
may be more useful practice than:
45 WPM / 80% accuracy.
Why?
Because every correct repetition strengthens the movement you want to automate.
Repeated incorrect movements can reinforce bad habits.
Try to build a reliable movement pattern before pushing your speed.
Step 8: Develop a steady rhythm
Typing speed is not only about how quickly individual fingers move.
Rhythm matters.
A beginner often types like this:
easy word → very fast
difficult word → stop
easy word → fast again
mistake → long pause
Instead, aim for a slightly slower but more consistent pace.
Think:
tap – tap – tap – tap
rather than:
FAST → STOP → FAST → STOP
A stable rhythm makes higher speeds easier to reach later.
Step 9: Identify the keys that slow you down
You will probably notice that some keys feel much harder than others.
Maybe you hesitate on:
- P
- Q
- X
- Z
- punctuation
- number keys.
That is normal.
Frequently used letters receive much more practice automatically.
Less common keys need targeted work.
Instead of repeating full typing tests endlessly, spend a few minutes practicing the keys that cause hesitation.
Keyzira's Personal Training mode can help you focus on words and characters that repeatedly cause problems.
Step 10: Practice difficult combinations
Sometimes you know where every key is but still struggle with specific sequences.
Examples:
- th
- ing
- tion
- str
- ment
- ble
- ough
These combinations require quick transitions between fingers.
Practice them inside complete words.
For example:
thing
strong
movement
possible
through
The goal is to make the whole movement feel natural.
Step 11: Use short daily sessions
You do not need hours of practice.
For beginners, a focused 10–15 minute routine is enough to build consistency.
For example:
Minutes 0–3
Home-row and finger-position practice
Minutes 3–7
Simple words without looking
Minutes 7–11
Difficult keys and combinations
Minutes 11–15
A controlled typing speed test
Short sessions are easier to repeat every day.
And repetition matters more than one extremely long practice session.
Step 12: Take typing tests—but do not obsess over your score
Typing tests are useful because they show whether your technique is becoming more efficient.
But beginners often make the mistake of constantly restarting tests to chase a higher WPM.
Instead, use tests as checkpoints.
Track:
- WPM,
- accuracy,
- mistakes,
- how often you looked at the keyboard,
- which keys caused hesitation.
One test tells you where you are.
Practice is what helps you improve.
What should a beginner focus on first?
Your priorities should roughly follow this order:
1. Finger position
Learn where your hands belong.
2. Key awareness
Find letters without visually searching.
3. Accuracy
Reduce incorrect movements.
4. Rhythm
Create smoother typing.
5. Speed
Only then push your WPM higher.
Trying to reverse this order often leads to sloppy technique.
Should you completely stop looking at the keyboard?
Eventually, that is the goal for normal letter typing.
But beginners do not need to force it immediately.
If you are completely lost, looking down briefly is better than spending 20 seconds guessing.
Try to reduce your keyboard glances gradually.
For example:
Week 1 → frequently checking
Week 2 → checking only difficult keys
Week 3 → mostly typing without looking
Week 4 → attempting complete tests without looking
Your timeline may be shorter or longer.
That is fine.
What happens to your WPM when you start touch typing?
It often drops.
Imagine you currently type:
60 WPM
with your personal technique.
You switch to touch typing and suddenly produce:
32 WPM.
This can feel discouraging.
But your old technique may have thousands of hours of repetition behind it.
Your new technique has only a few days.
Compare your touch-typing results with your previous touch-typing results, not immediately with your old personal record.
For example:
Day 1 → 26 WPM
Day 5 → 31 WPM
Day 10 → 37 WPM
Day 20 → 44 WPM
That trend matters.
How long does touch typing take to learn?
There is no fixed number of days.
Your progress depends on:
- your current typing habits,
- how often you practice,
- accuracy,
- keyboard familiarity,
- how strongly your old technique is established.
You may learn basic key positions fairly quickly.
Making those positions completely automatic takes longer.
Think of progress in stages.
Stage 1
You know which finger should press each key.
Stage 2
You can type without constantly looking.
Stage 3
The movements begin to feel automatic.
Stage 4
Your old typing speed returns.
Stage 5
You begin exceeding your old speed.
Not everyone progresses at the same rate.
Should you use all ten fingers?
Traditional touch typing uses all fingers, including the thumbs for Space.
Using more fingers can reduce the distance each finger needs to travel and create more balanced movement.
However, do not become obsessed with perfect form on day one.
A technically perfect finger position that feels impossible to maintain is not useful.
Gradually improve your technique while keeping your hands comfortable.
What if one finger feels awkward?
Some fingers naturally have less independence.
Your ring and pinky fingers may initially feel much weaker or less precise than your index fingers.
This is normal.
Do not compensate by forcing your index finger to do everything.
Give the weaker fingers short, controlled repetitions.
They usually become more comfortable with practice.
How should you use Backspace?
Do not panic every time you make a mistake.
Correct the error and continue.
What you want to avoid is:
mistake → frustration → rush → second mistake → rhythm collapses
Instead:
mistake → correct → continue at the same pace
Smooth recovery is part of good typing technique.
When should you begin working on speed?
Once you can type comfortably with strong accuracy, begin increasing your pace gradually.
Suppose you reach:
42 WPM / 98% accuracy
with good touch-typing technique.
Try:
45–47 WPM
while keeping accuracy high.
Once that becomes comfortable:
50 WPM
becomes the next goal.
You do not need massive jumps.
Small increases are easier to stabilize.
A four-week beginner touch typing plan
A simple plan might look like this:
Week 1 — Position
Focus on:
- home row,
- correct fingers,
- looking down less.
Ignore speed.
Week 2 — Accuracy
Practice full words and keep errors low.
Start short typing tests.
Week 3 — Rhythm
Work on smoother typing and difficult combinations.
Begin monitoring WPM more closely.
Week 4 — Speed
Gradually increase your pace while protecting accuracy.
Repeat the cycle if needed.
Touch typing does not end after four weeks, but this gives beginners a clear starting structure.
Common beginner mistakes
Avoid these habits:
- trying to type at maximum speed immediately,
- constantly looking at the keyboard,
- using only index fingers for difficult keys,
- practicing for hours while tired,
- restarting every test after one mistake,
- comparing yourself with advanced typists,
- changing technique every few days.
The goal is to make the correct technique automatic.
That requires repetition and patience.
How do you know if you are improving?
Do not only look at your personal best.
Look for signs such as:
- fewer keyboard glances,
- fewer long pauses,
- higher accuracy,
- smoother rhythm,
- more consistent WPM,
- easier difficult words,
- less effort while typing.
These improvements often appear before a major jump in speed.
Final thoughts
Learning touch typing is not about becoming extremely fast overnight.
It is about teaching your fingers a reliable system.
Start with:
home row → correct fingers → simple words → accuracy → rhythm → speed.
You may initially become slower.
That is part of learning.
As your key positions become automatic, your attention stays on the screen and your movements become more efficient.
With Keyzira, you can use the Typing Speed Test to measure your progress, Personal Training to practice difficult words and keys, and Statistics to see how your WPM and accuracy change as your touch-typing technique develops.